The All-Things-Audio Blog
Time Tips: Vocals Setup

Time is a precious thing in the studio, and by recording your vocal doubles to the lead track, you skip out on lining up unnecessary doubles. Don't just track 5 vocal takes and hope they line up. Let me show you two ways to improve your tracking & editing time.
- Often times when I'm tracking with a vocalist, especially in hip hop where I want the vocals to feel tight with the doubles, I give them three to four takes. Then we go through the takes, pick the best one, and have it be the lead. From there, we will track the vocal doubles. That way the vocalist can follow the lead vocal as close as possible, rather than deviating from what that lead is doing. In the example of hip-hop, sometimes in each take, the vocalist could deliver a different rhythm or pace. To maintain tightness, you are going to want to make sure you decide with the lead what rhythm and pace you like so you can record your doubles following that pace.
- There's a lot of value by giving yourself three to four times ...
Beefing Up The Low End

Pitch reverb down an octave to create space and deeper tones.
If you feel like something is lacking beef or low-end thickness, try pitching it down an octave. It will bring in new harmonics and add depth that wouldn't have been there otherwise. This doesn’t always work, and definitely doesn’t work on everything. So use your ears.
Another way to add to the thickness would be by throwing it through a distortion to accent that low-end even more. Sometimes, especially with reverb, it gets harder to pick out the low information. By distorting it, you're creating EVEN MORE harmonics so your ear can pick it up easily, especially in a dense mix.
Keep your ears open and the spectrum analyzer open. The low end in a mix can easily get out of hand fast, and by adding low-end reverb, you’re going to be adding to that potential hazard. Be smart about how much you’re doing this and what kind of instruments you are sending to it.
Here are a few examples of where you would want to use this:
Voca...
MIDI Velocity!
Do you ever feel like your songs sometimes sound lifeless or boring? Or maybe straight up “MIDI sounding?” I have one word that is going to turn your lackluster song into a gem: Velocity.
Use different velocities on your virtual instruments (especially drums!) to make things more interesting. Don't always use the "heaviest loudest" setting. It gets boring. Different velocities/intensities give your music its character. I get sick of always hearing drums "on" or "off" in the sense of performance. It's 127 velocity or there are no drums. That gets boring. Throw in some ghost notes (check out the video "Programming Drums to Sound More Human: Ghost Notes" to see what I'm talking about.)
Another thing to try is alternating hits with different velocities. This helps to make it not so programmed and flat-lined. Music is supposed to be a dynamic moving story. Don't make it sound robotic by having every single instrument hit the 127 mark to make it "loud."
There are some situations where you...
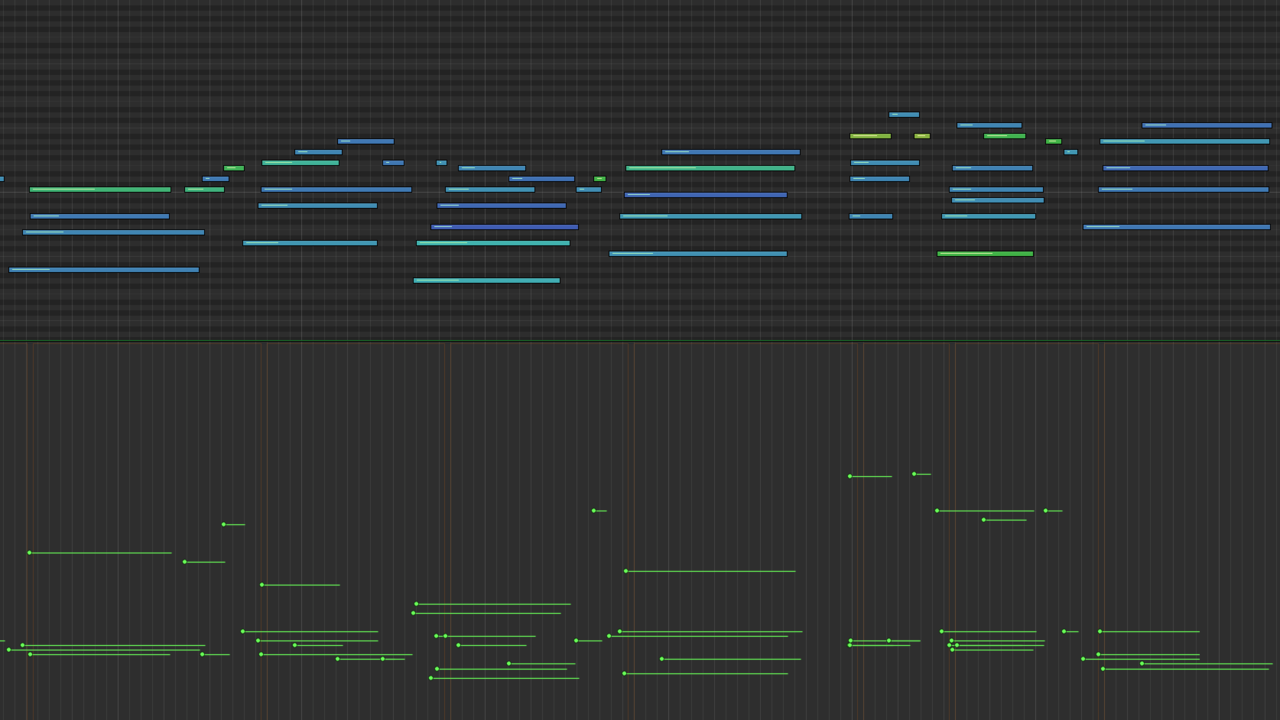
Shortening Kick Decays

If you’ve got a song (especially faster paced) with a deep soaring bass and punchy fat kicks, there’s no way they can inhabit the same space without making or your mix muddy or running out of headroom.
By shortening kick decays you get tighter low end and clear up mud. A lot of time your kick sustain isn’t going to be very audible, especially coupled with a deep sub bass. Having that extra sustain is just taking up room that doesn’t need to be taken up.
If you're not sure how to tell how long it should be, try bouncing out software kicks so you can see visually the length of the decay on the kick and shorten it. It's as easy as dragging in the tail end of the kick and fading it out. Like this:

There is a balance of how long you want the decay to be and how it plays with the feel and rhythm of your song. Be smart and use your ears. And remember, friends don’t let friends get clogged mixes. Shorten your kick attack.
Mastering With Distortion
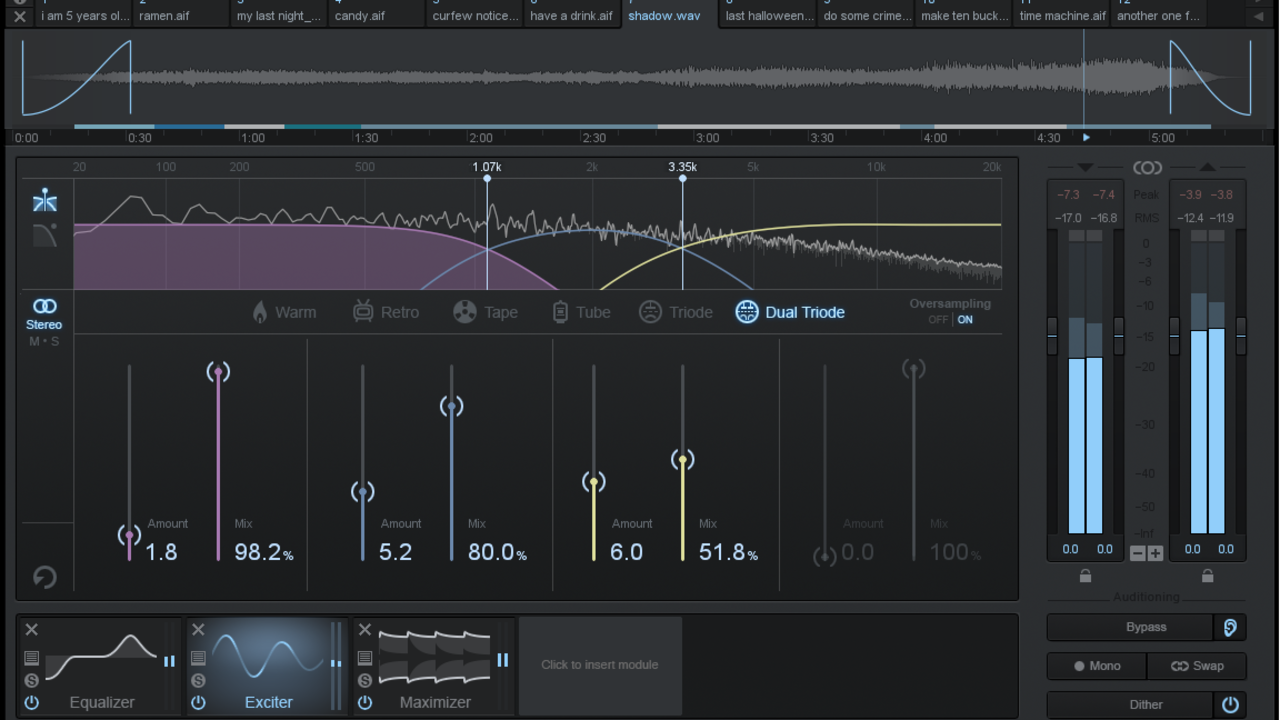
Do you ever find yourself mastering and feel like the EQ moves you’re doing are a little underwhelming? Maybe you are mastering a mix you didn’t do and wish you could go back and add a little more energy to it? Today I want to share a hack with you to add more energy to your masters. It’s called distortion.
What??? Isn’t distortion supposed to be used for grungy guitars and gritty things? NOT ALWAYS. And if you’ve been following me for a while you know how much I love distortion. Don't be afraid to use distortion on your master to enhance certain frequencies and create energy. A little can go a long way. Don’t just think of distortion as an “on or off” type of thing. I love iZotope Ozone for my mastering for this reason. It includes a harmonic enhancer, which is a multi-band distortion.
The advantage to using distortion over something like EQ is you create and enhance harmonics that were not there or were buried beneath the mix. This helps by bringing out shimmery highs when EQ makes...
Don't Let Perfectionism Slow You Down

A perfectionist rarely gets things done. Commit and move on. Chances are your "perfect product" won't be perfect 5 years from now.
Doug and I scored a TV series that interviews various creative entrepreneurs. One of the creative artists is named Jake Parker. He is an inspirational and talented artist who really has his head on straight (he drew the picture for this post!). One thing that was a big takeaway from me was to get away from being a perfectionist. I always try and make everything perfect. Perfect mix, perfect vocal, perfect drums, etc. But the truth is, I look back at things that made me pull my hair out and realize it wasn't worth all the stress. And in almost every single case, I think to myself now "oh man... If I did that now it would be 100 times better." Which proves a point that he made in the show. He said something along the lines of (not a direct quote, but summary) “If you spend all your time and energy trying to make something perfect, you’ll delay its release, ...
Gaining a Vision For Your Mixes

If you don't have a vision for how your song will sound, you're going to be shooting in the dark and just end up twisting knobs and getting nowhere. By determining the sonic end goal of a song before you start, it will speed up your mixing tremendously.
Before you mix, determine what makes a "good mix" and write down a list of goals and milestones you need to hit to achieve that "good mix." A great practice is pulling up a song that you're going to use as a mix reference. Write down what you like about it and see if your song has something similar. Don't COPY it sonically. Pick out what you like and then give your song a listen through with a pen and paper. Write down where your song is and where you'd like to end up.
For example. Let’s say you use Justin Bieber's All Around the World (link to song) (one of my favorite mix reference tracks, it sonically is fantastic to my ears) as your reference track and you love the beef of the kick. Listen to your song and see if your song has a s...
Limit Your Options

If you’ve been following me for a while, you know I’m always talking about ways to save time in the studio. It’s all about finding the best and quickest way to get something done, whether it’s utilizing your plugin workflow or limiting your options. And that’s what I want to talk about today. Here are 2 painfully easy and free ways to limit your options that will save you a ton of time in the studio.
Pick one EQ
Pick one EQ plugin to use on a song & move on. ONE. WAY too much time is wasted debating which EQ would suit best. I don’t care if it’s the latest API or Neve modeled whatever with the saturation knob that takes it to the next level… I don’t care. Pick one. And if it is the Neve or API, good on you. That works perfect, but pick and commit.
Pick one compressor
Pick one compressor plugin and commit. MU, 2A, VCA, 76, whatever your flavor, in the end it doesn’t matter. I get that compressors in general have more drastic differences in tone and response than different EQ ty...
Multi-Band Compressors
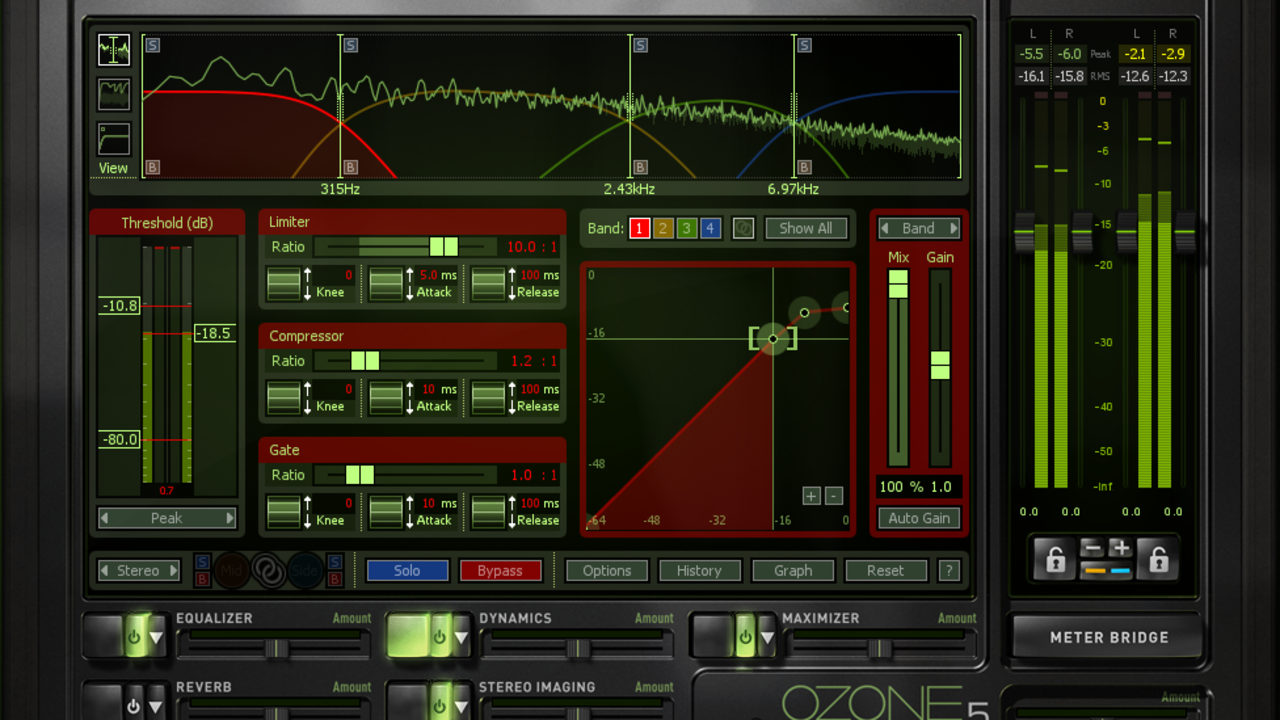
If you feel like your songs always end up pumping when you get to the mastering stage, you could be driving your compressor too hard. You might find yourself backing off to get rid of the pumping. But by backing off, it loses the glue. So what do you do?
Be careful with a regular compressor on a master. There’s nothing wrong with using one, but if you have heavy kick/bass content it could cause the song to pump.
Try using a multi-band compressor as a solution to pumping.
Multi-band compressors allows you to control different frequencies (think of a compressor-EQ) with different amounts of compression. So if your bass/kick is overpowering the song, you can treat 120hz and below rather than the entire spectrum. I love iZotope’s Ozone or Alloy for this but most, if not all DAWs have a multi-band compressor included.
All the knobs, meters, bells, whistles, and tweakable parameters get really overwhelming. When I first started using them I was intimidated and afraid because I didn’t kno...
Using A/B Referencing In Mastering
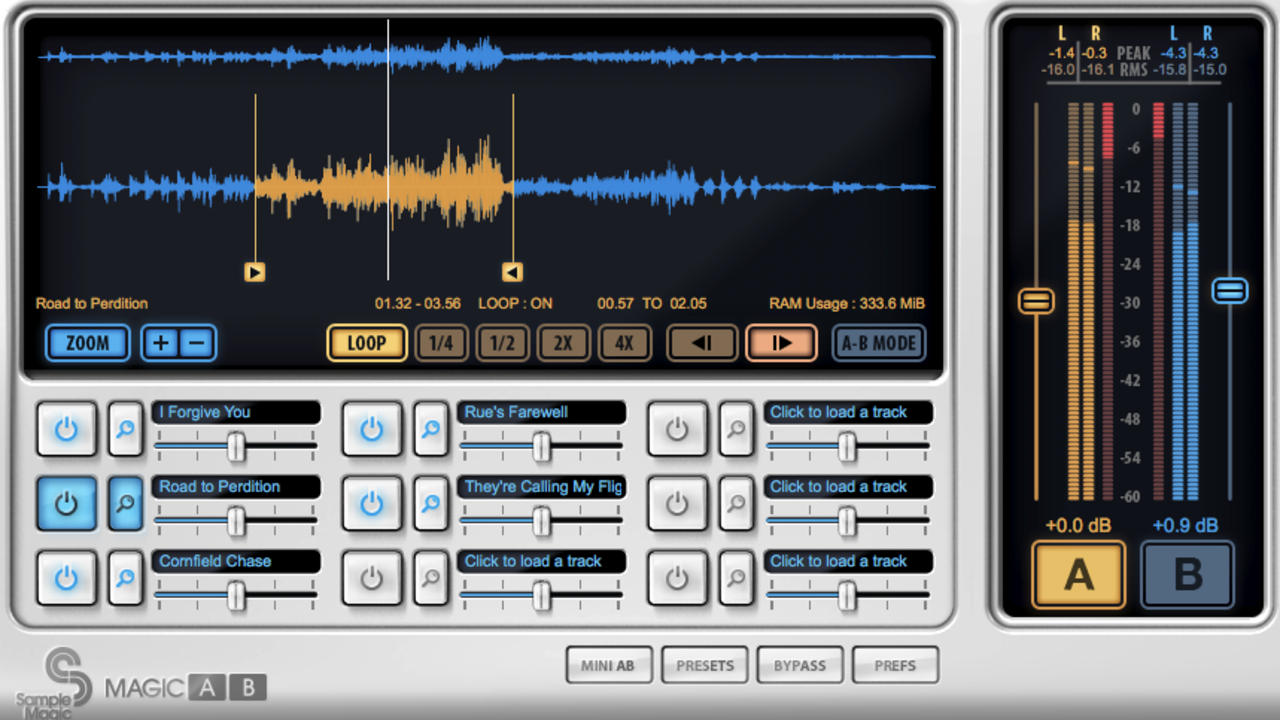
A/B referencing in mastering is perhaps one of the most important things you can do. A/B referencing refers to the process of switching back and forth between two audio sources. This kind of referencing can be a HUGE help, but make sure what you're doing is helping, not hurting. Of course you want to help your song, right? Here are a couple of things you can do to make sure you are using A/B to help your master.
Always Volume Match
This is probably the number one problem when people master. The deception that comes from your track and a reference track being just 0.5db off can make a huge difference. Why is this so dangerous? If one track is louder than the other, you’re going to be tricked into thinking it MUST sound better, even if that’s not the case. Because of the increase in volume, your brain tricks you into thinking it’s clearer, punchier, and wider. Louder isn’t necessarily “better.” Always make sure that in this crucial stage of mastering you are level matching all your mo...